
In order to eliminate damage to components and wiring in case of a short circuit, a fuse can act as a circuit breaker to prevent excess current flowing the circuit.
The conductor inside the fuse is made of a metal similar to solder. It has a lower melting point than the wire itself. The size of the conductor is calibrated very carefully so that when the rated current is reached, enough heat is generated to melt the conductor and so break the circuit.When a fuse is blown, it must be replaced before the circuit will work. A blown fuse must be replaced with a fuse of the same amperage. A visual inspection of the fuse can usually demonstrate whether the fuse is blown or not.
Tools & Equipment:
- 5 Amp Fuse
- 2 x Female Spade Crimp Terminals
- Hand Crimper Tool
- Heat Shrink (Plus Heating Tool)
- Wire
- Electrical Tape
Process:
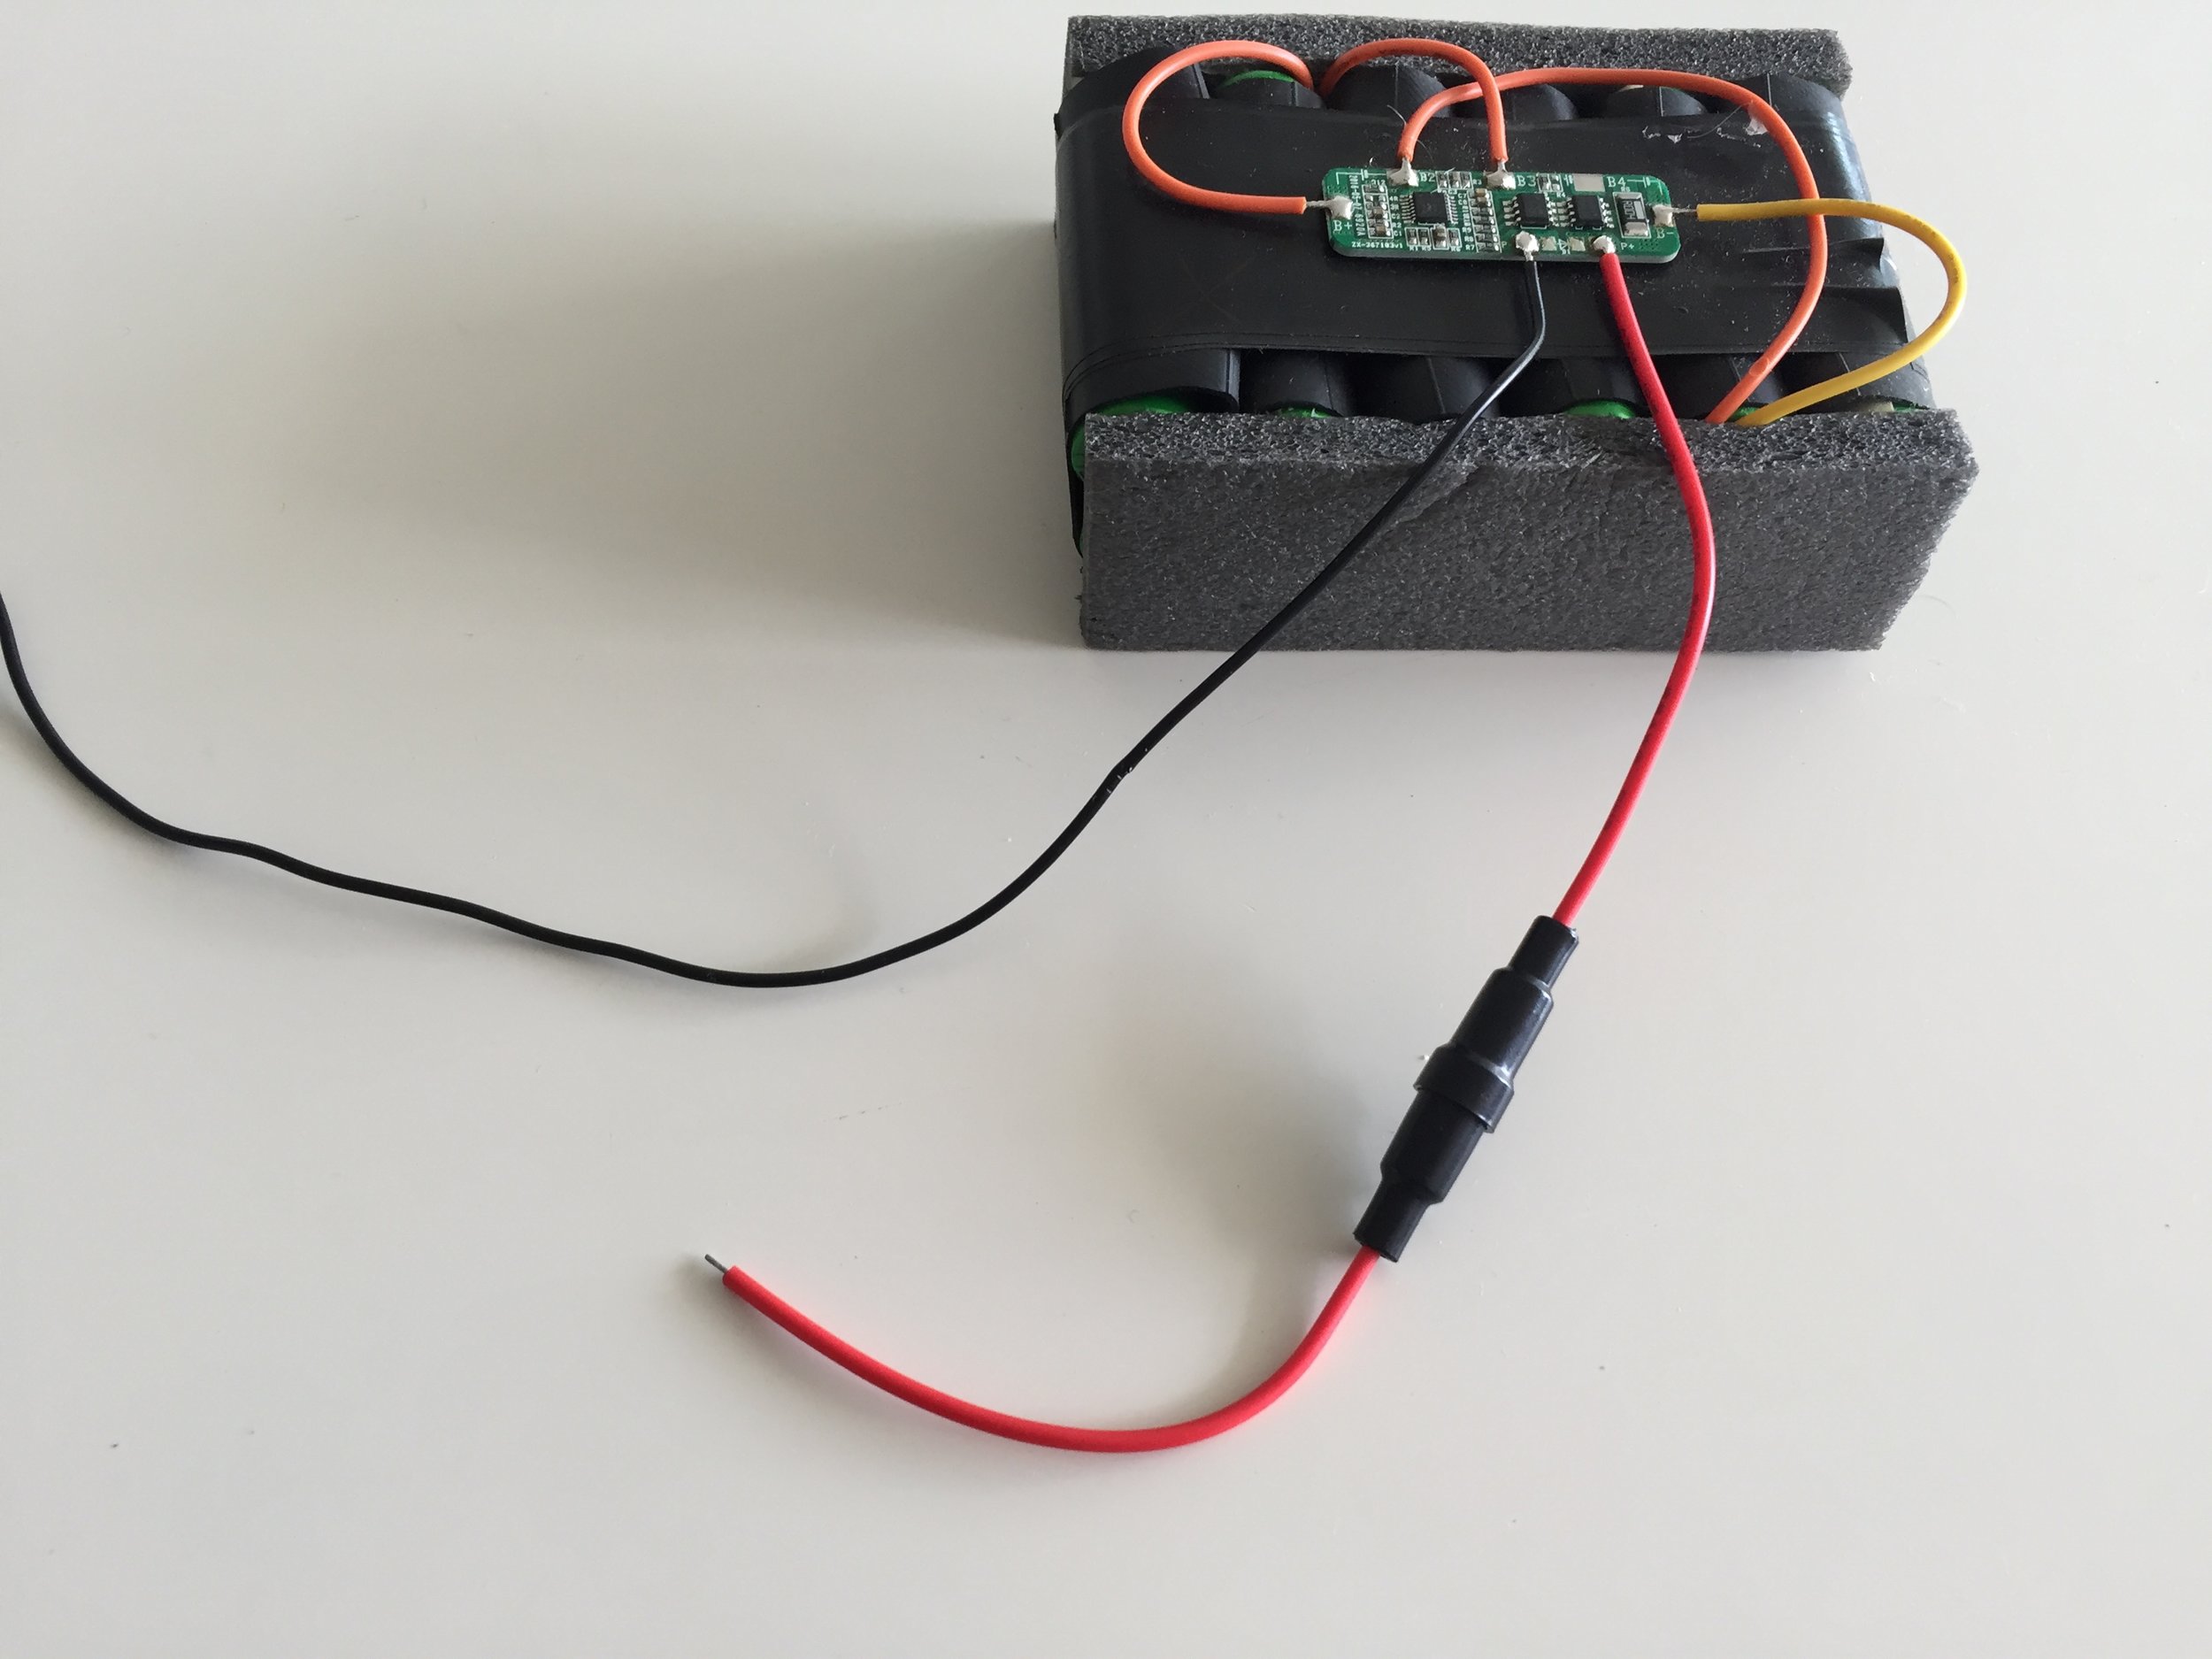
- Place Female Spade crimp terminal on Positive (red wire) from the Battery (add heat shrink if necessary)
- Connect Crimp to Fuse Pole
- Add another Female Spade Crimp to a wire
- Connect the Second Wire to the Fuse.
- Mount the Fuse to the battery with Electrical Tape
The Video Below Demonstrates this process.
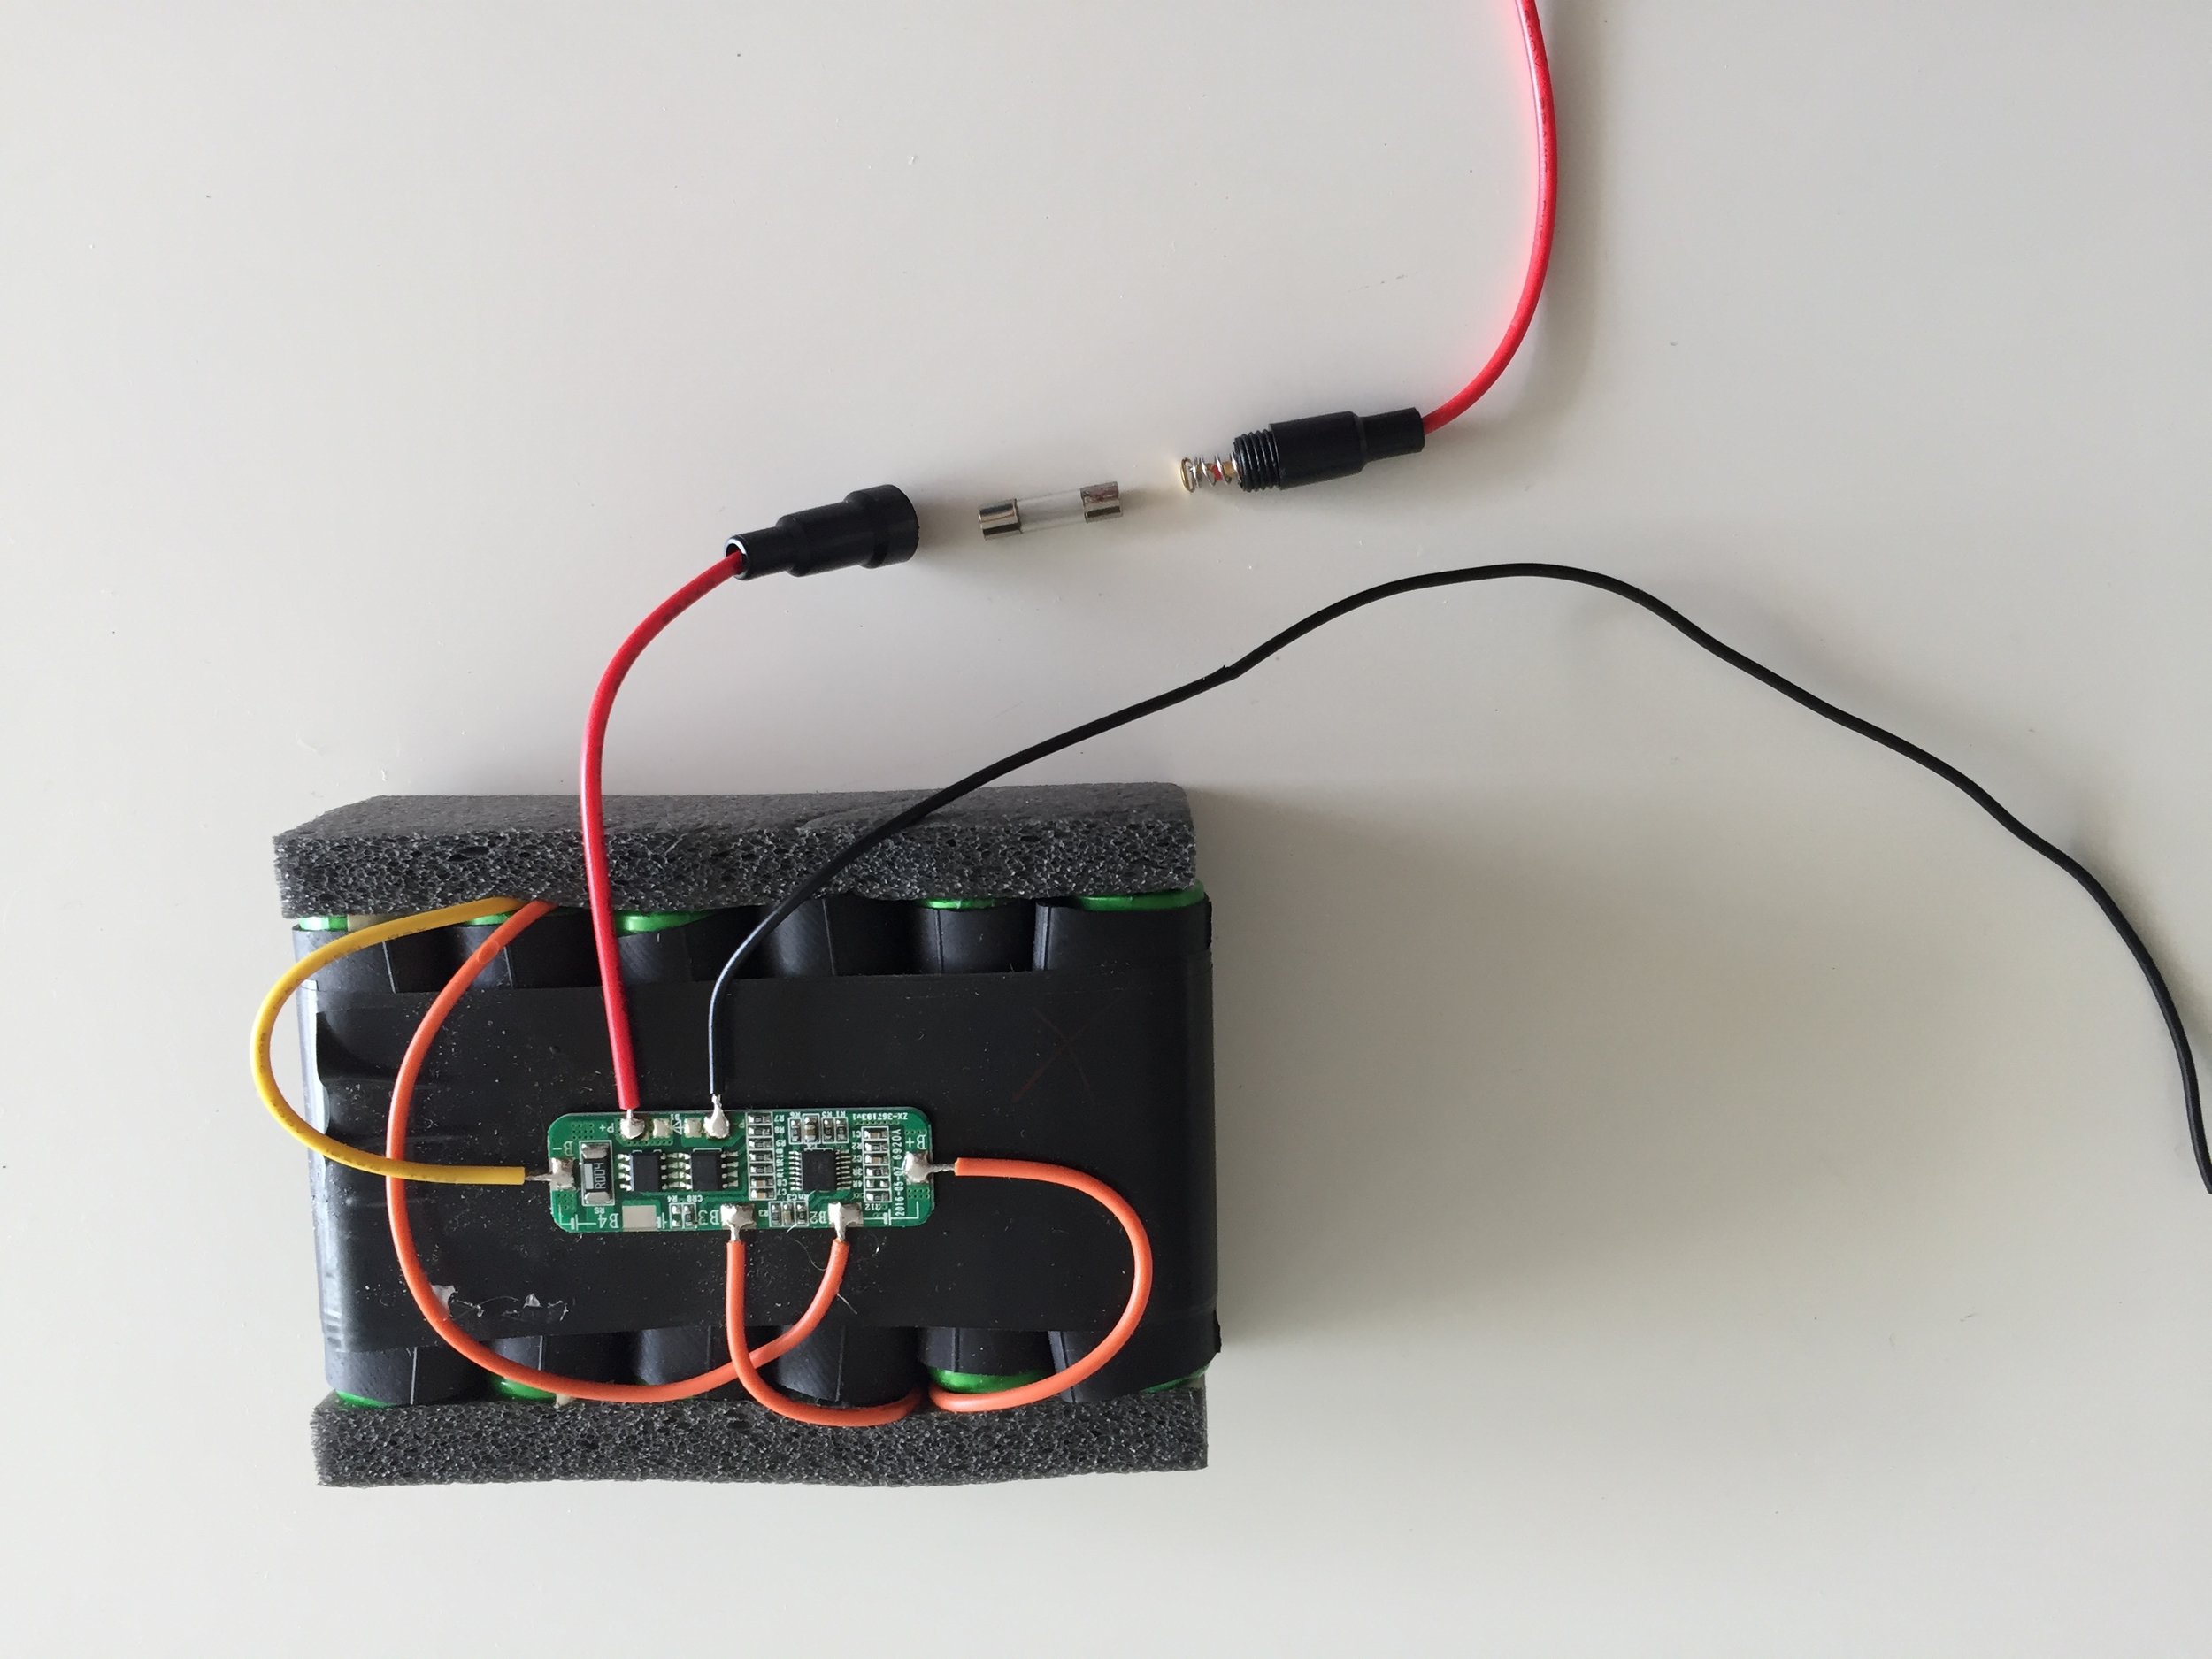
Updated Kit: 2017 onwards
The newer kits will have a 5 x 20mm 5A glass cylinder fuse. This fuse fits directly into the inline fuse holder connected to the battery. Simply put the fuse into the fuse holder (in either direction) and screw together.